Note: This post may contain affiliate links. If you make a purchase, we may receive a commission at no additional cost to you. You can read our full disclosure policy here.
Keychains are all the craze right now so why not make a fun arts and crafts night with friends or family to get in on the fun!
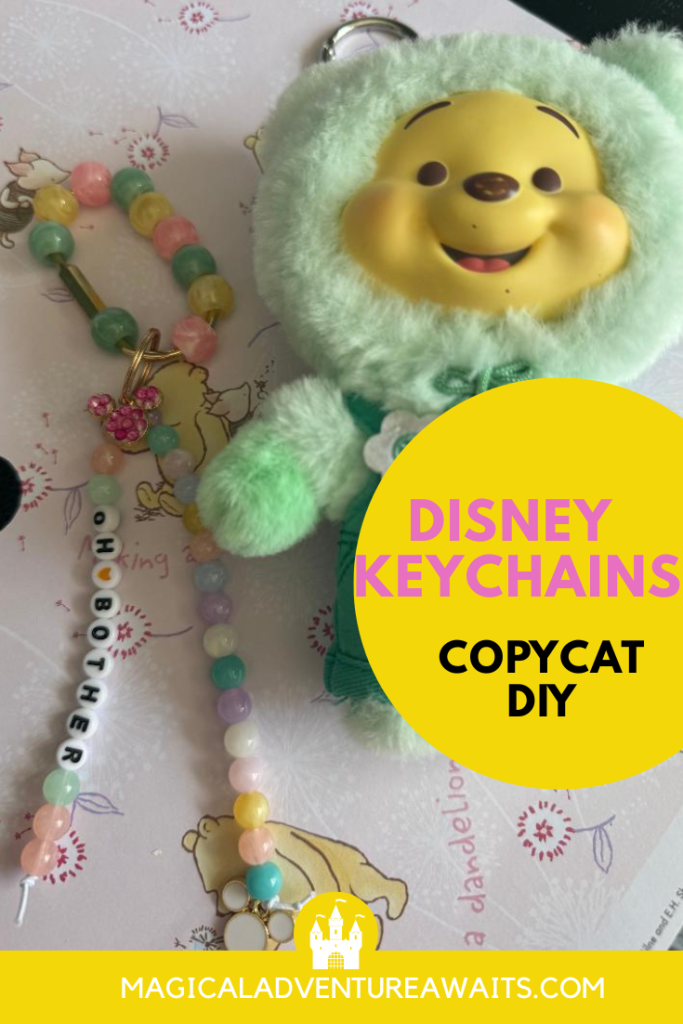
Recently, we got together with some family and decided to make some Disney keychains! Inspired by the super trendy Little Words Project bracelets and keychains, we were able to make so many different cute ones!
These pair perfectly with blindbox keychains like this and this. And the best part is this DIy is a fraction of the price of the name brand ones and fully customizable.
You only need a handful of supplies to get started. These viral keychains were seriously so much fun to make and are sure to be a hit!
Supplies:
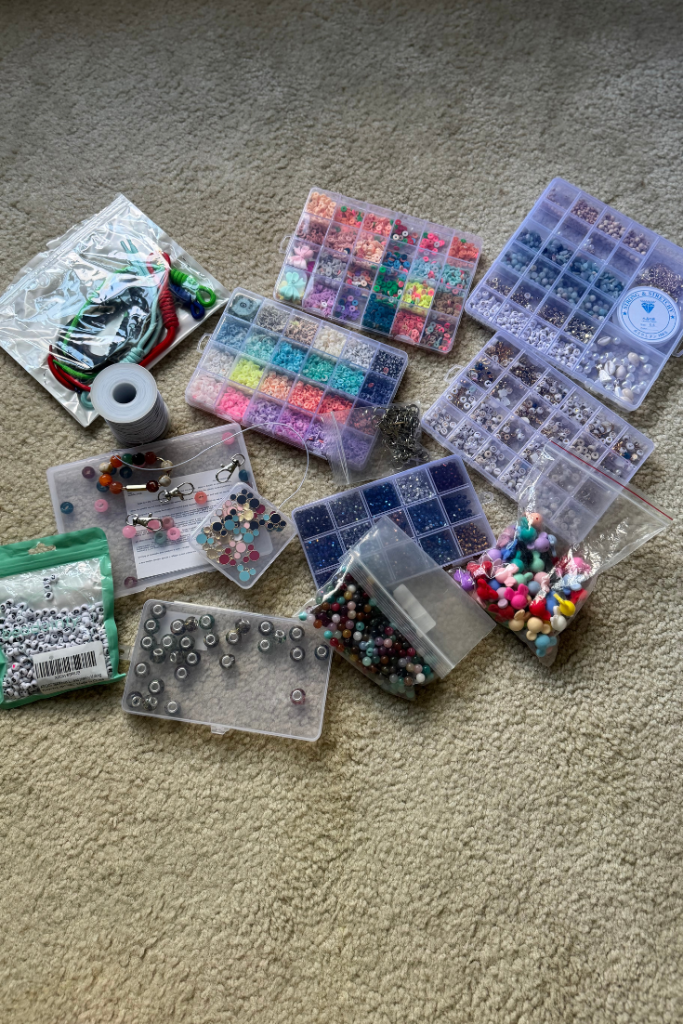
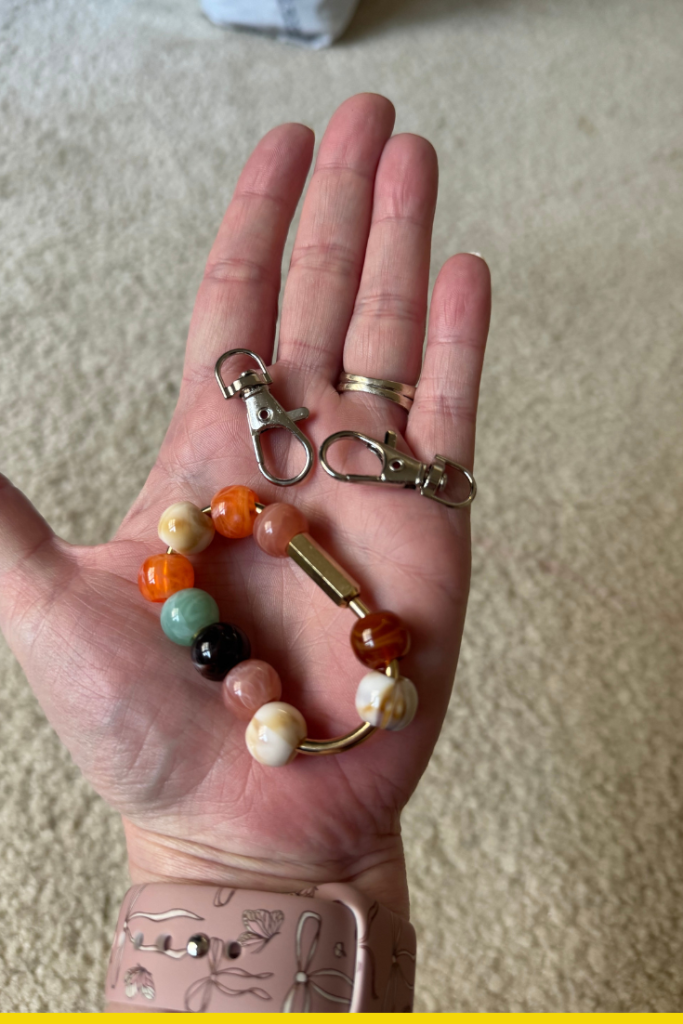
First you will need some keychain hooks for this project. I personally liked, these ones and these. The larger, gold colored ones are my favorite at the moment and are super trendy. They will easily fit almost any purse strap width. The smaller ones are still cute and will fit most smaller straps or key rings.
You’ll also need a variety of beads. For this project I used some larger holed beads like these to fit the larger key rings as well as some smaller beads and letter beads. I went heavy with pastels this time but you could do any color palette!
I also really like these Mickey head beads. They definitely make a statement! I also like these Mickey shaped charms as well. I even added diamonds to some of these. You could also do different charms like these or these!
You’re also going to need some bracelet cord. While there’s many different kinds to choose from, I like this one a lot for keychains. It’s stretchy but durable and easy to work with. Most beads will fit through this one, which is another reason why I like it so much.
You can also use paracord or add it as an embellishment.
Once you have all of your supplies gathered, you’re ready to start beading! For the large keychain design, I picked a theme or Disney character to choose my colors from and then placed the beads with the larger holes on the gold keychain.
Once I completed that part, I attached the elastic cord to the key ring creating a loop and pulling both ends of the cord through it. Then I beaded each elastic with a pattern of colors, Mickey heads and lettered beads.
Here’s a step by step guide in pictures of how to create the cord loop knot.
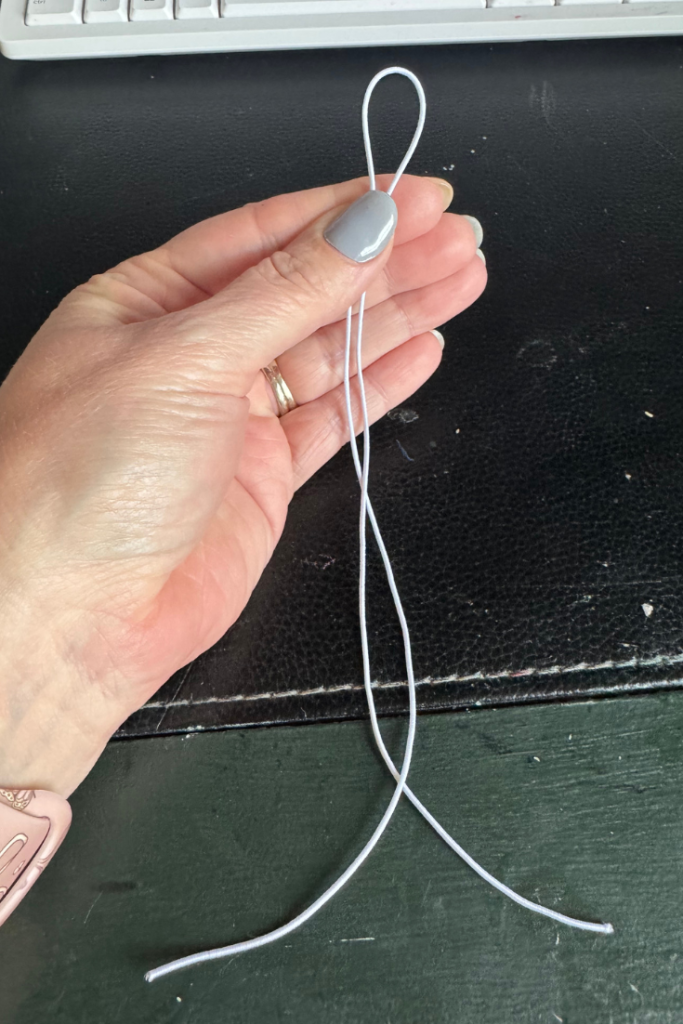
Create a loop in the center of the cord and let the ends hang down.

Put the loop on one side of the keychain ring and string the ends through.
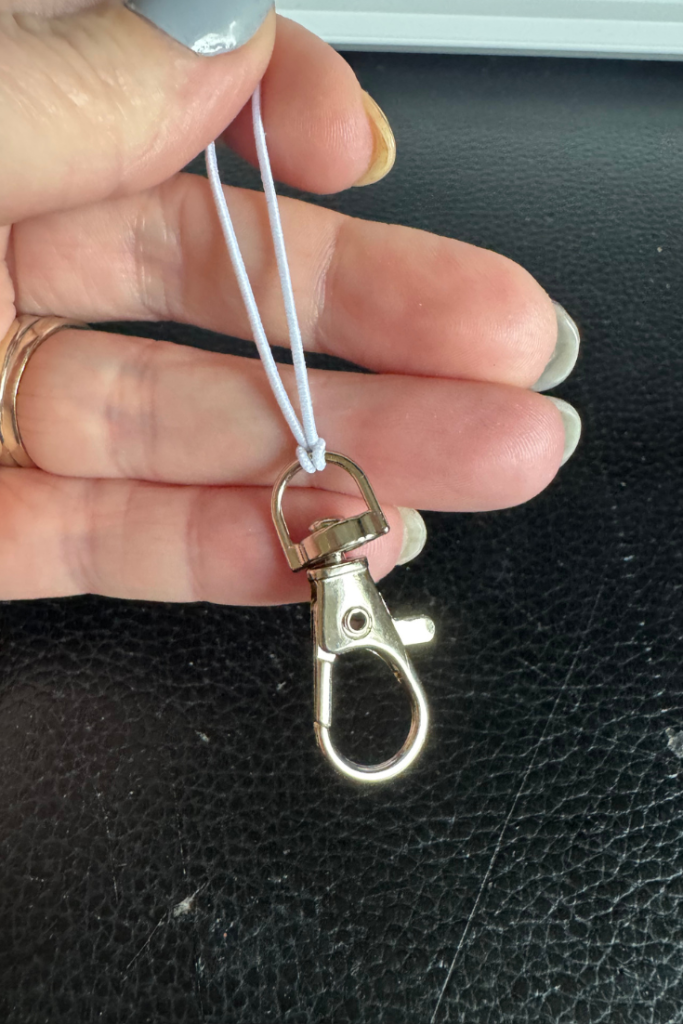
Once you have pulled both string ends through the loop, pull them tightly to create the knot as shown above.
There you have it! The knot is literally the most complicated part. Once you’ve strung all your beads, tie each end off with the knot of your choice. You can also take a lighter and sear the edges to help seal the deal!
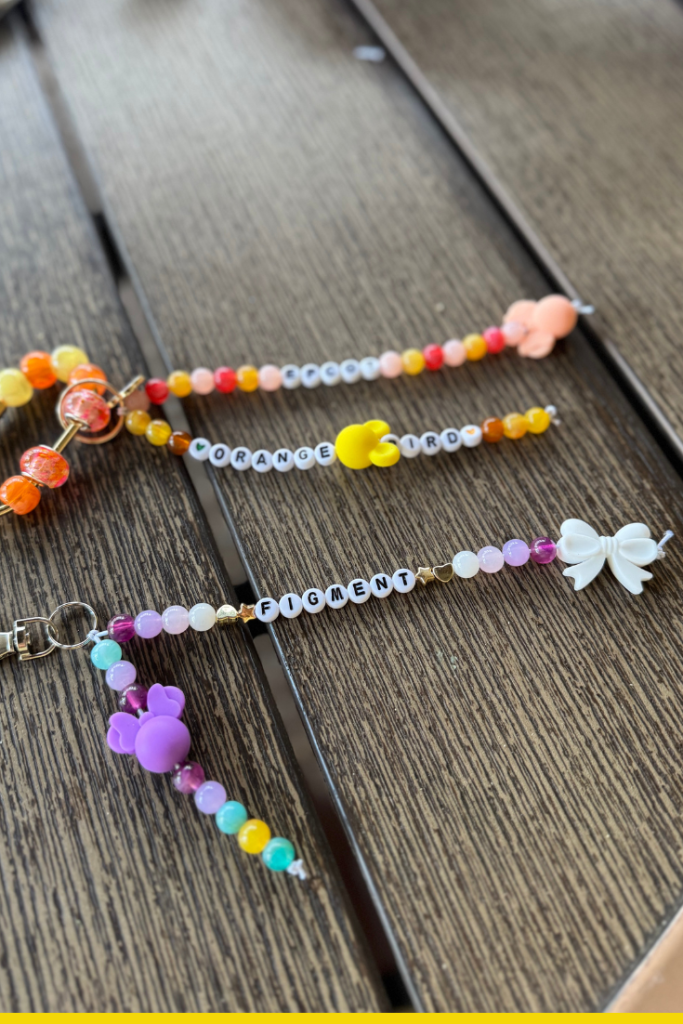
We had so much fun with this! I created a Figment one as well as an Orange Bird one and a Winnie the Pooh one. But you could do any character or Disney theme your heart desires. This would also be a great craft idea for summertime when the kids are out of school.
I’m planning to make some beachy themed ones as we get closer to our beach vacation this year. These would even make cute little handmade gifts that are sure to put a smile on everyone’s face!